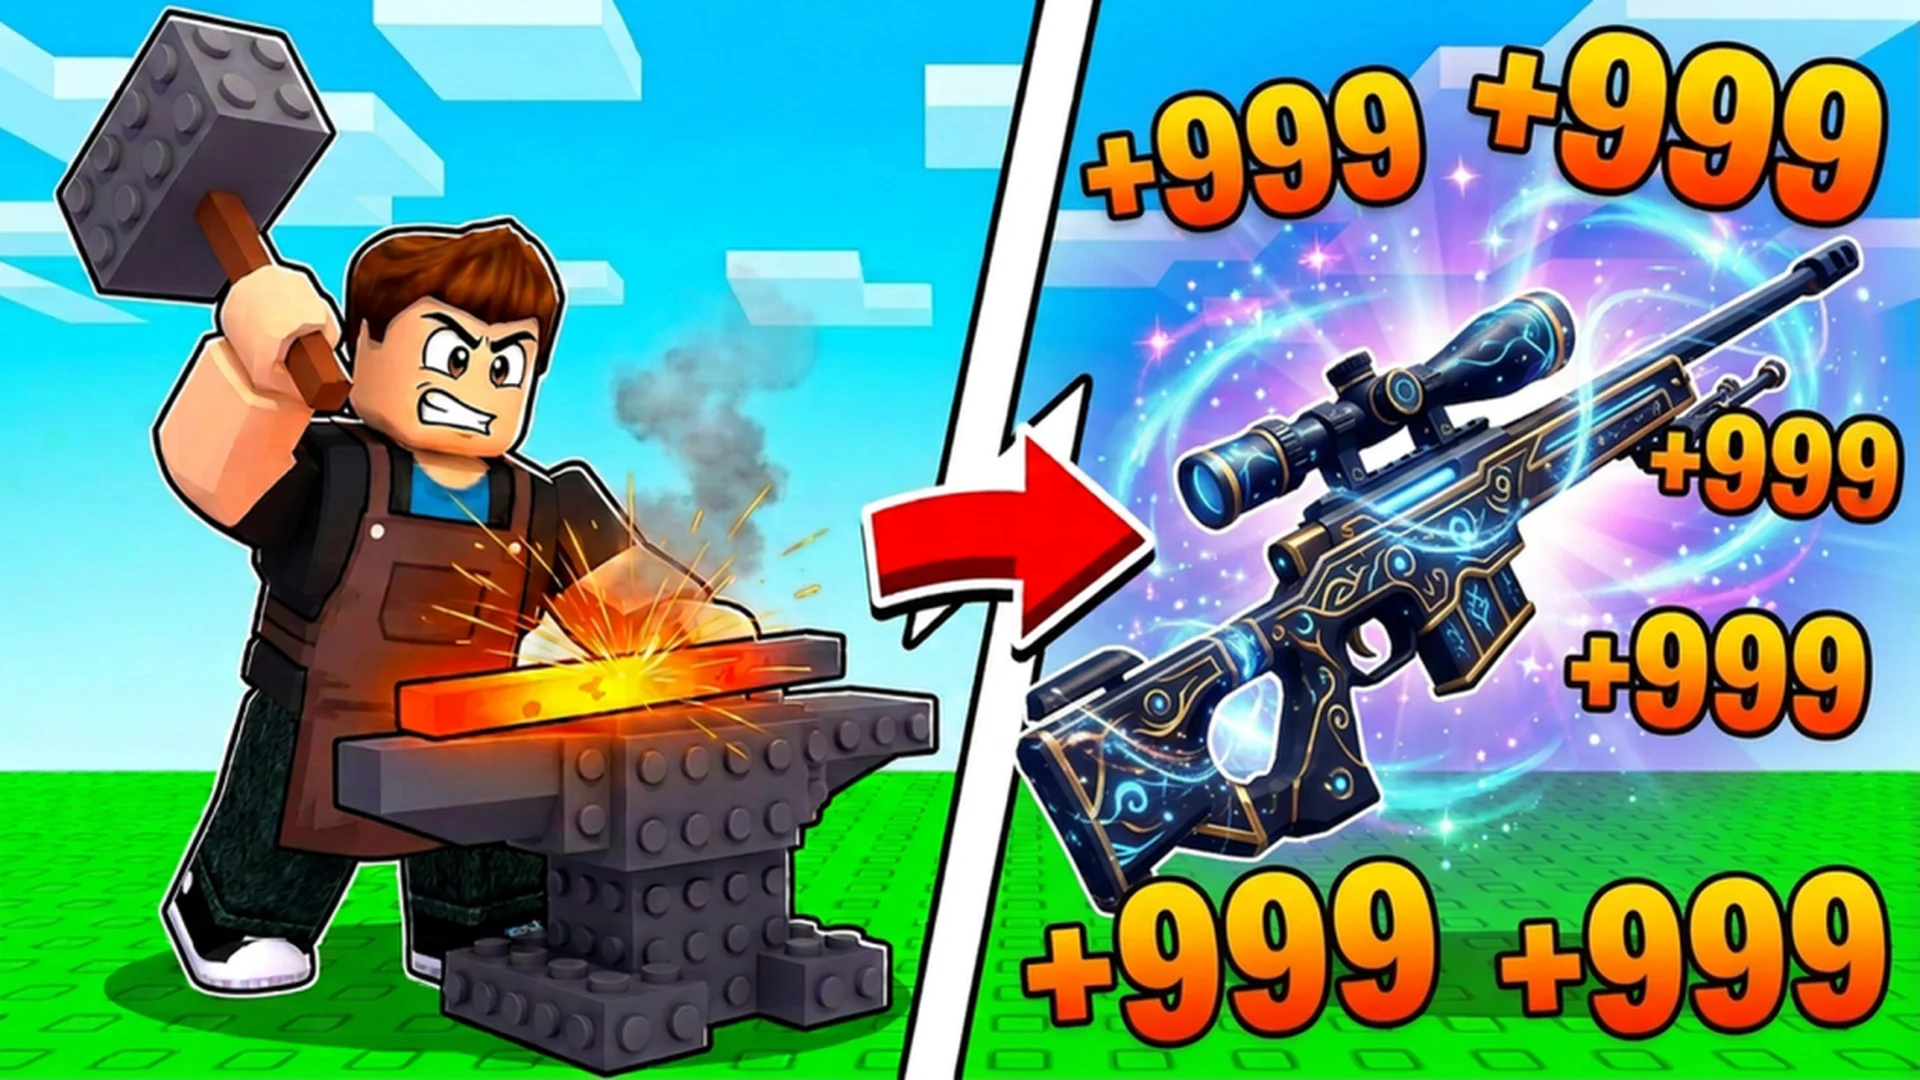
- Gun Forge beginner guide: Follow the ore, crafting, training, and rebirth progression loop.
- First priority: Collect diary rewards, update rewards, quests, potions, and available currency.
- Core upgrade: Improve backpack capacity so fewer trips interrupt your farming route.
- Weapon plan: Craft better weapons from gathered materials, equip upgrades, then sell weaker gear.
- Long-term goal: Train toward rebirth requirements while completing quests and improving movement speed.
Gun Forge beginner guide: Learn the Core Loop
Gun Forge uses a straightforward progression cycle: gather materials, return to the furnace, craft a weapon, equip the strongest option, sell weaker gear, and train until the next milestone becomes available. The most important beginner skill is recognizing when to stop farming and return to the lobby before the backpack reaches its limit.
The opening route also includes several reward sources. Check the diary, update reward panel, quest markers, daily tasks, challenges, and spin feature before committing to a long farming session. These rewards can provide potions, money, stars, candies, or other useful progression resources.
Video Highlights:
- Collect diary and update rewards before starting the first farming route.
- Follow the visible path to fight enemies and collect ore or stone materials.
- Use the furnace to turn gathered materials into weapons.
- Upgrade backpack capacity and movement speed to reduce downtime.
- Train automatically and work toward the first rebirth requirement.
| Activity | Main purpose | Beginner priority |
|---|---|---|
| Diary rewards | Collect early resources and consumables | High |
| Update rewards | Claim available bonuses and potions | High |
| Ore gathering | Obtain crafting materials | High |
| Furnace crafting | Convert materials into weapons | High |
| Selling gear | Turn unused weapons into money | Medium |
| Training | Increase progress toward rebirth | High |
| Quests | Earn currency, stars, and objectives | Medium |
| Spin feature | Receive a random reward | Medium |
The best early rhythm is to gather until the backpack is nearly full, return to the furnace, craft immediately, and test the new weapon during training. If the weapon is stronger, equip it before your next route. If it is weaker than your current equipment, sell it when the game allows and keep your better weapon equipped.
Gather
Collect available ore, stone, coal, and other materials. Watch backpack capacity so the return trip is planned instead of forced.
Craft
Use the furnace to process gathered resources into weapons. Auto-processing can reduce repetitive input during larger crafting sessions.
Improve
Equip stronger weapons, increase capacity or speed, and train toward the next rebirth milestone.
Do not spend every reward immediately. Keep enough currency available for practical upgrades, especially backpack capacity and movement speed, because both reduce repeated travel during farming.
Step-by-Step First Session Route
The first session should establish a repeatable routine rather than chase every feature at once. Follow the route below to activate rewards, collect materials, craft an initial weapon, and begin training with fewer interruptions.
Claim the visible rewards
Open the diary and collect available entries. Check update rewards and interact with visible exclamation marks. These rewards may include potions or other early resources, so collecting them first gives your opening route more value.
Follow the route and gather materials
Use the marked path to reach the first enemies and resource areas. Fight targets, collect dropped materials, and return when your backpack is full or nearly full. Avoid unnecessary detours while your capacity is low.
Process resources at the furnace
Place gathered materials into the furnace and use the available auto option when convenient. The materials are processed into a weapon that can replace your starting equipment.
Equip and sell carefully
Open the backpack, compare the new weapon with your current weapon, and equip the higher-power option. Sell only the weaker or unused weapon so you retain a useful combat tool.
Start automatic training
Enter the training area and activate the automatic training feature when available. Continue gathering and upgrading while watching your progress toward the first rebirth.
| First-session decision | Recommended action | Reason |
|---|---|---|
| Backpack is full | Return to the lobby | Prevents wasted gathering time |
| New weapon has higher power | Equip it immediately | Improves combat and training speed |
| New weapon is weaker | Keep current weapon | Avoids lowering your damage |
| Currency is limited | Prioritize capacity or speed | Reduces travel and downtime |
| Quest is complete | Claim the reward | Adds progress without extra farming |
| Training is active | Continue the farming loop | Builds progress toward rebirth |
A beginner mistake is treating the furnace as the end of the route. Crafting is only useful when it leads to a stronger weapon, faster training, or better access to the next area. Always return to the backpack after crafting and compare the weapon power before replacing your current gear.
With a small backpack, long routes can create unnecessary travel. Gather near the accessible route, return before capacity becomes a problem, and upgrade storage as soon as the cost fits your current progression.
Weapons, Training, and Upgrade Priorities
Weapon power is the main factor behind faster training. The progression example available for Gun Forge moves from a low-power starting weapon to a much stronger crafted weapon after collecting better materials. The exact result can vary, so compare every crafted item instead of assuming that each craft is an upgrade.
Automatic combat and automatic training are valuable because they let you continue progressing while focusing on route management. However, auto features do not remove the need to monitor backpack capacity, equipment power, quests, or rebirth requirements.
| Upgrade area | What it improves | When to prioritize |
|---|---|---|
| Weapon power | Combat and training speed | Whenever a clearly stronger craft is available |
| Backpack capacity | Number of materials carried | Early, when repeated trips slow progression |
| Movement speed | Travel time between areas | After basic capacity or when routes become longer |
| Training progress | Advancement toward rebirth | After equipping the best available weapon |
| Pets | Potential supporting benefits | After understanding the pet menu and cost |
| Potions | Temporary progression support | During focused farming or training sessions |
Use this priority order for most new players:
- Claim free rewards and completed quests.
- Gather enough resources for a meaningful craft.
- Equip the best weapon currently available.
- Increase backpack capacity when travel becomes frequent.
- Improve movement speed when the route feels slow.
- Train until the next rebirth requirement is within reach.
- Reinvest new currency into the next practical improvement.
The available gameplay example shows that a crafted weapon can make training noticeably faster than an earlier weapon. This makes weapon comparison more important than simply crafting as often as possible. If a craft does not improve power, keep your current weapon and continue gathering better materials.
The strongest practical upgrade is usually the one that reduces the time needed for your entire loop. A better weapon improves training, while capacity and speed reduce the time spent traveling.
Quests, Pets, Rebirths, and Resource Management
Once the basic loop is working, begin adding secondary systems. Quests provide structured targets, daily tasks and challenges create extra objectives, and spins can award additional currency. Check these systems regularly rather than waiting until the end of a long farming session.
Pets are also visible as part of the progression system. The available gameplay information shows that pets may be connected to eggs, candies during an event, or a separate purchase option. Because access and costs can change, inspect the current in-game menu before spending limited resources.
Rebirths reset part of the short-term progression loop but open a new training stage and provide a longer-term objective. The first rebirth can be attempted after meeting the displayed requirement. Later rebirths may require a higher level, so always read the current requirement shown in the rebirth menu.
| System | What to check | Beginner approach |
|---|---|---|
| Daily quests | Available objectives and rewards | Complete easy tasks during normal farming |
| Challenges | Progress-based goals | Review them before choosing a route |
| Spins | Random currency or item reward | Use available spins after checking upgrades |
| Pets | Eggs, event currency, or purchase options | Inspect benefits before spending |
| Rebirth | Current requirement and reset effect | Attempt it when training slows near the target |
| Events | Special currency or temporary rewards | Collect available event resources during routes |
Beginner Progress Checklist:
- Claim diary and update rewards
- Collect materials until the backpack is nearly full
- Craft and equip the strongest available weapon
- Upgrade backpack capacity or movement speed
- Complete visible quests, daily tasks, and challenges
- Train toward the displayed rebirth requirement
Before rebirthing, confirm that you have collected nearby rewards and completed any easy quests. The gameplay example shows that rebirth moves training to another stage and increases the next requirement. That means rebirth is a progression checkpoint, not a reason to stop upgrading your weapon or storage.
Read the displayed requirement before starting a long training session. If the next rebirth needs a higher level, prepare a stronger weapon first so the required progress takes less time.
Beginner Mistakes and FAQ
The fastest way to improve is to eliminate avoidable interruptions. Most early problems come from carrying too little, replacing a stronger weapon with a weaker one, overlooking rewards, or spending currency before identifying the next useful upgrade.
| Mistake | Why it slows progress | Better habit |
|---|---|---|
| Ignoring diary rewards | Misses early resources and consumables | Check reward panels before farming |
| Waiting until the bag is overfilled | Creates forced returns and lost route time | Plan returns around capacity |
| Selling the equipped weapon | Can reduce combat or training power | Compare first, then sell weaker gear |
| Crafting without checking power | Uses materials without improving progress | Inspect every result |
| Ignoring quests | Leaves easy currency and stars unclaimed | Check markers during each return |
| Rebirthing without preparation | Makes the next requirement feel slower | Upgrade weapon and read the target |
The following FAQ summarizes the most important beginner decisions.
Q: What is the main Gun Forge progression loop?
Gather ore and other materials, return to the furnace, craft a weapon, equip the strongest result, sell weaker gear, and train toward the next rebirth requirement.
Q: What should beginners upgrade first?
Prioritize practical upgrades that reduce downtime. Backpack capacity helps carry more materials, while movement speed shortens repeated trips. Weapon power should take priority whenever a stronger craft is available.
Q: Should I sell every weapon I craft?
No. Compare the crafted weapon with your equipped weapon first. Keep the higher-power option and sell weaker or unused gear when the sell area is available.
Q: When should I attempt a rebirth?
Attempt rebirth after meeting the displayed requirement and collecting useful nearby rewards. Before the next cycle, equip your strongest weapon and review the higher requirement for the following rebirth.
Use the checklist after each major return to the lobby. This keeps the progression loop organized and helps prevent missed rewards, unclaimed quests, or forgotten upgrades.
Treat every return to the lobby as a maintenance checkpoint: claim rewards, process materials, compare weapons, upgrade storage or speed, then resume training.