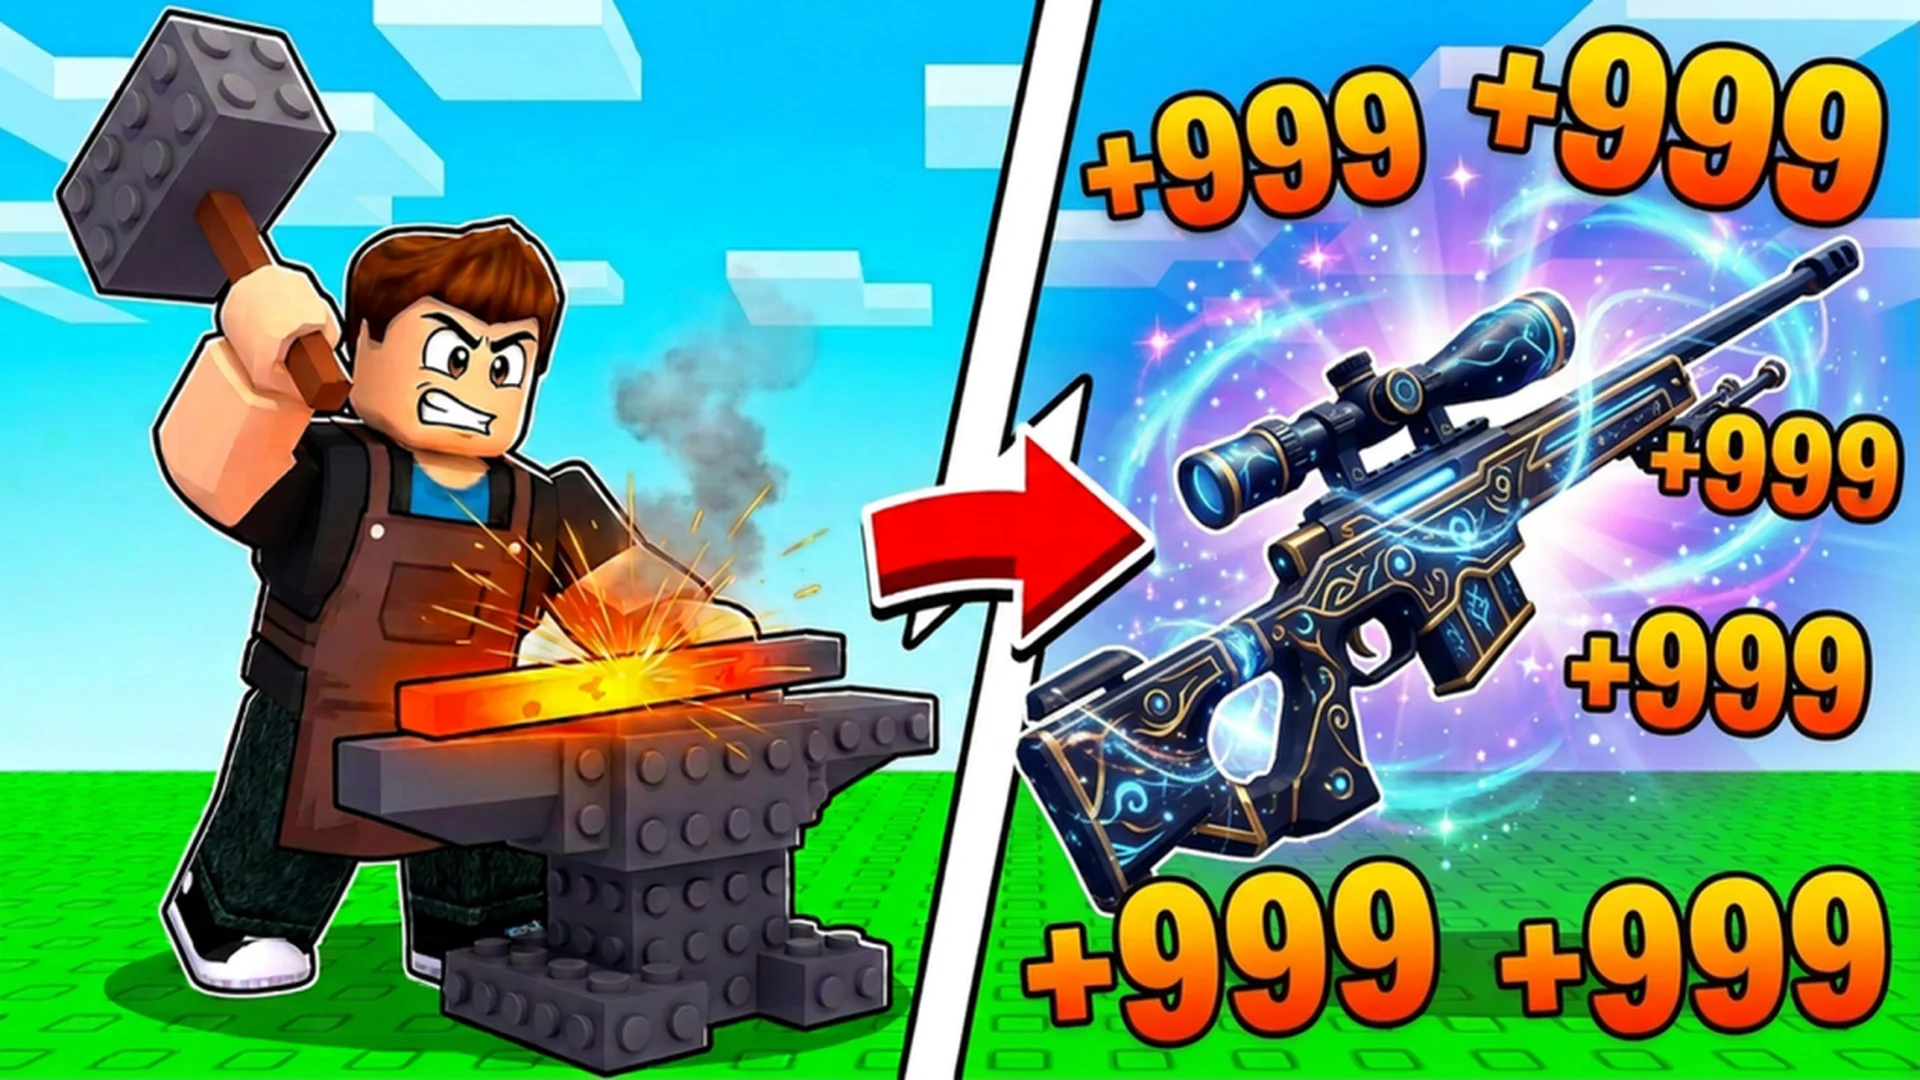
- Gun Forge how to play starts with quests, rewards, gathering, and basic weapon crafting.
- Follow the white route to reach early combat areas and collect materials from defeated enemies.
- Smelt resources at the furnace, equip stronger weapons, and sell outdated gear for currency.
- Upgrade capacity and speed to reduce return trips and improve your gathering cycle.
- Train before rebirth so your character reaches the required progression threshold efficiently.
Gun Forge how to play: First Steps
Gun Forge how to play becomes much easier when you follow the opening objectives instead of exploring randomly. Begin by checking the diary, update rewards, quest markers, and any available exclamation points. These early rewards can provide useful potions, currency, stars, or event items that support your first gathering run.
The opening route uses a visible white line to guide you toward the first combat area. Follow it until an enemy appears, then defeat the target and collect the dropped materials. Your first objective is not to maximize damage; it is to understand the movement loop between the combat zone, inventory, furnace, and sell area.
Video Highlights:
- Early diary and update rewards can be collected before the first gathering trip.
- The white route leads new players toward the initial enemy encounter.
- Ore and other materials are collected before returning when the bag reaches capacity.
- Auto combat can attack nearby enemies while you focus on movement and collection.
- The furnace converts gathered materials into usable weapons.
| Opening Task | Recommended Action | Main Purpose |
|---|---|---|
| Diary | Check and claim available rewards | Gain early support items |
| Update rewards | Collect visible reward markers | Obtain potions or currency |
| White route | Follow the marked path | Reach the first combat area |
| First enemy | Defeat it and collect drops | Start the material loop |
| Quest markers | Review completed objectives | Claim additional progress rewards |
The game’s early loop is straightforward: move to a combat area, defeat enemies, pick up materials, return when your inventory is full, and process the resources. Keep this pattern in mind because later upgrades improve each part of the same cycle rather than replacing it.
Claim every visible reward before leaving the starting area. Early potions and currency can shorten the time needed to obtain your first meaningful weapon upgrade.
Gathering Materials and Using the Furnace
Once you reach the first resource area, focus on gathering enough materials to fill your current capacity. The initial bag is limited, so returning to the lobby is normal rather than a sign that you are progressing incorrectly. A full bag simply means the next step is processing or selling.
The furnace is the central crafting station. Place your collected resources into the smelting process, then inspect the resulting weapon before deciding what to equip. The available source material indicates that rocks, coal, and ore can contribute to weapon creation, while different materials may produce different equipment results.
| Activity | What to Do | Efficiency Advice |
|---|---|---|
| Gather rocks | Collect nearby resource drops | Use early trips to learn the route |
| Collect ore | Prioritize higher-value resource areas | Return before the bag overflows |
| Gather coal | Include it when crafting requires it | Keep enough for the next smelt |
| Use furnace | Convert materials into weapons | Check the result before replacing gear |
| Manage inventory | Leave space for new drops | Upgrade capacity when affordable |
Follow these steps for a dependable first crafting cycle:
Enter the Resource Area
Follow the route into the gathering zone and defeat nearby enemies when they block progress. Collect the dropped rocks, ore, or other materials instead of leaving them on the ground.
Watch Your Capacity
Check the inventory limit during the run. When the bag is full or nearly full, return to the lobby and avoid wasting time searching for additional drops.
Start Smelting
Use the furnace to process your collected materials. The crafting animation is automatic after the required resources are selected.
Inspect the Weapon
Open the backpack and compare the new weapon with your equipped item. Equip the stronger option before returning to training.
The first crafted weapon may look modest, but even a small power increase can make training and future gathering faster. Do not sell a newly crafted item until you have compared its power with your current equipment.
Do not assume every crafted weapon is an upgrade. Always compare its power in the backpack first, then sell only the weaker item you no longer need.
Weapons, Selling, and Early Upgrades
Weapon progression is the most visible way to improve your early performance. A stronger weapon increases your combat effectiveness and can make training feel faster. The source gameplay demonstrates a major jump from a low-power weapon to a much stronger pistol after gathering more advanced materials, so returning to the resource area after each meaningful upgrade is worthwhile.
The sell area helps convert unused weapons into money. Use it to clear weak gear and build currency for practical upgrades. The most useful early improvements are generally the ones that reduce downtime, especially movement speed and inventory capacity.
Weapon Power
- Primary combat upgrade
- Compare every crafted item
- Equip the higher-power option
Bag Capacity
- Fewer return trips
- Supports longer gathering runs
- Upgrade when currency allows
Movement Speed
- Faster route completion
- Reduces lobby-to-resource travel
- Helpful for repeated farming cycles
| Upgrade Area | Benefit | Best Time to Prioritize |
|---|---|---|
| Weapon power | Faster combat and training | After crafting a stronger weapon |
| Capacity | More materials per trip | When the bag fills too quickly |
| Movement speed | Shorter travel time | After basic equipment is stable |
| Currency | Unlocks practical upgrades | After selling spare weapons |
| Training progress | Moves toward rebirth | Once combat damage is sufficient |
A simple upgrade order works well for most new players:
- Improve weapon power whenever the furnace produces a clearly stronger item.
- Increase capacity when frequent returns interrupt gathering.
- Add movement speed when the travel route becomes the main source of downtime.
- Continue selling weaker equipment rather than storing every duplicate.
- Return to training after each equipment improvement.
The auto feature can also reduce manual input. In the observed gameplay, auto combat attacks nearby enemies while the player concentrates on movement, collection, and inventory management. It is useful during repetitive farming, but you should still monitor capacity and equipment.
Prioritize upgrades that improve the entire farming loop. A stronger weapon helps combat, while capacity and speed reduce the time spent returning to town.
Training, Auto Combat, and Rebirth
Training is the next major progression stage after your first weapon upgrade. The training process can run automatically, allowing your character to build progress while you manage other systems. The observed progression also includes a rebirth mechanic, with the first rebirth becoming available after reaching the required training threshold.
Rebirth changes the progression stage and raises the next requirement. After the first rebirth, the next target shown in the source gameplay is level 50. Treat each rebirth as a checkpoint: improve your equipment, gather enough resources, train until the requirement is reached, then repeat the cycle.
| Progression Stage | Main Focus | Practical Goal |
|---|---|---|
| Starting area | Rewards and route learning | Claim early items |
| First gathering loop | Materials and furnace use | Craft a better weapon |
| Early training | Auto combat and progress | Build toward the first rebirth |
| After first rebirth | Stronger equipment and level growth | Work toward the next threshold |
| Advanced loop | Better routes and upgrades | Reduce downtime between cycles |
Use this routine when preparing for a rebirth:
- Equip your strongest available weapon.
- Confirm that the training feature is active.
- Check quests and claim completed rewards.
- Gather materials whenever a weapon upgrade is within reach.
- Sell weaker weapons to fund capacity or movement improvements.
- Stop training briefly when a better weapon is ready to equip.
- Return to training after the upgrade and monitor the rebirth percentage.
The auto feature is especially useful when enemies continue appearing in the training area. However, automation does not remove the need for decision-making. You still need to choose when to return, which resources to collect, what to craft, and which weapon to equip.
Reach the current rebirth requirement before spending heavily on minor upgrades. Save enough currency and materials to maintain progress after the next training stage begins.
Progress Checklist and Common Mistakes
A consistent loop is more valuable than rushing into unexplored areas. Use the checklist below to keep your early progression organized.
Essential Progression Goals:
- Claim diary, update, quest, and visible reward markers
- Follow the white route to the first combat area
- Gather materials until the current bag is full
- Use the furnace and equip the strongest crafted weapon
- Sell weaker gear and upgrade capacity or speed
- Activate training and work toward the first rebirth
| Common Mistake | Why It Slows Progress | Better Approach |
|---|---|---|
| Ignoring reward markers | Leaves useful early items unclaimed | Check the diary and quest areas first |
| Staying after the bag is full | Adds travel without extra storage | Return and process materials |
| Selling without comparing | A stronger item may be discarded | Check weapon power in the backpack |
| Delaying capacity upgrades | Forces frequent trips | Upgrade when returns interrupt the loop |
| Training with weak gear | Slows progress toward rebirth | Craft and equip stronger weapons |
| Ignoring quests | Misses currency and star rewards | Review daily and challenge objectives |
Pets, spins, quests, and event items may appear as additional systems during progression. Use them when their requirements are clear, but do not let optional menus distract from the core loop. Your first priorities remain equipment, materials, capacity, movement, and training.
The source gameplay also shows that event currencies can appear alongside normal rewards. Because event availability can change, verify the current in-game requirements before spending limited items.
Start each session by checking rewards and quests, then complete one gathering-and-smelting cycle before committing to extended training.
Gun Forge FAQ
Q: What is the basic Gun Forge how to play loop?
Follow the route to a combat area, defeat enemies, collect materials, return when your bag is full, smelt resources into weapons, sell weaker gear, and train toward rebirth.
Q: What should I do when my inventory reaches capacity?
Return to the lobby or furnace area, process the gathered resources, and consider upgrading bag capacity if frequent trips are slowing your farming route.
Q: Should I sell every weapon I craft?
No. Compare each crafted weapon with your equipped item first. Equip the stronger weapon and sell only gear that is weaker or no longer needed.
Q: When should I focus on rebirth?
Focus on rebirth after equipping your strongest practical weapon and activating training. Continue improving equipment when the required progression threshold is still far away.
The most reliable way to improve is to repeat the loop with better efficiency each time. A stronger weapon shortens combat, a larger bag extends each trip, and movement speed reduces travel. Together, these upgrades support faster training and more consistent rebirth progress.
For a visual reference, you can review the Gun Forge gameplay and progression video, which demonstrates the early route, furnace, weapon comparison, training, and rebirth systems in 2026.
Gun Forge rewards a steady progression cycle: claim rewards, gather materials, craft stronger weapons, upgrade downtime-heavy systems, and train toward the next rebirth.