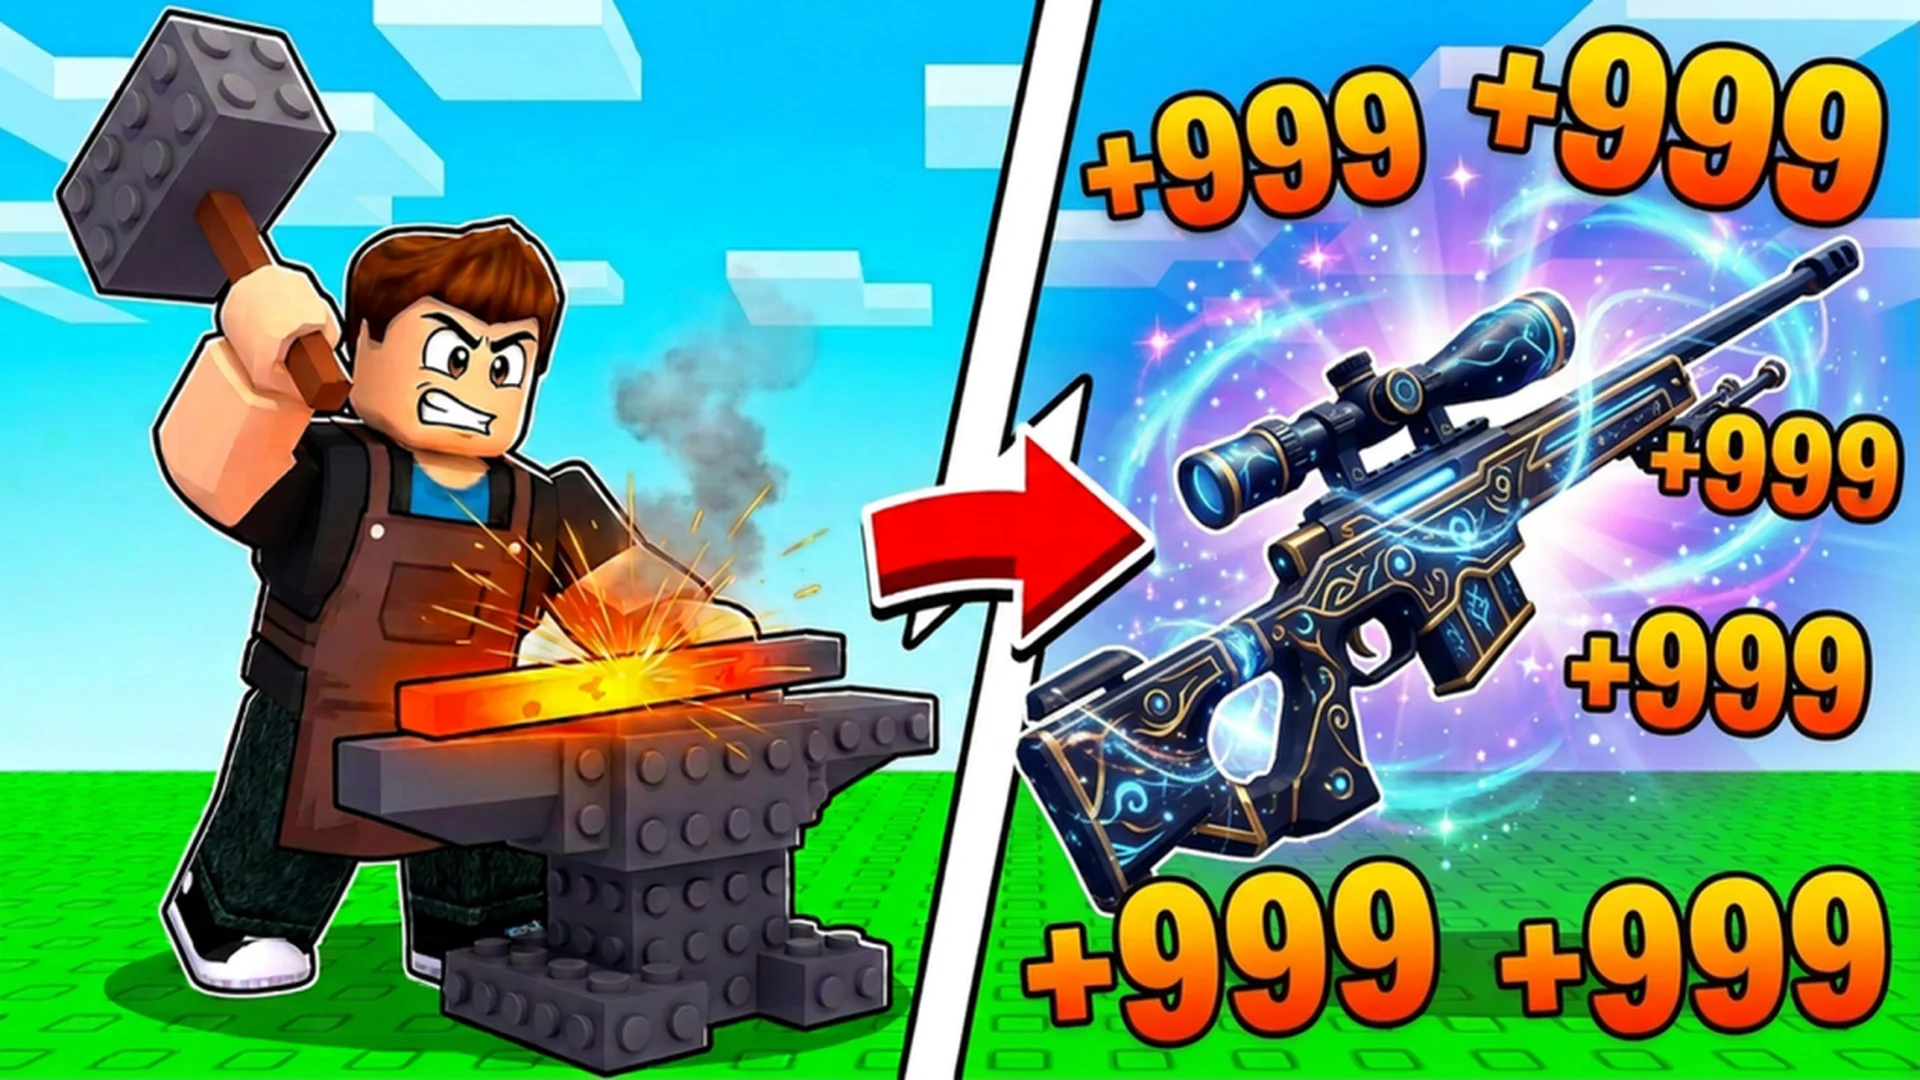
- Gun Forge weapon guide: Build damage through training, forging, upgrades, and rebirth progression.
- Best early plan: Prioritize a reliable gun, ore capacity, movement speed, and training power.
- Forge rule: Use the smallest useful ore combination when rarity odds improve with fewer materials.
- Combat tip: Fast weapons clear waves quickly, while heavy weapons are better for bosses and training.
- Long-term goal: Reach stronger stages, collect higher-tier ore, and convert rare materials into better gear.
Gun Forge Weapon Guide: Core Progression
Gun Forge weapon guide planning starts with one simple principle: every upgrade should help you reach the next stage faster. Your progress usually comes from a loop of entering a combat area, defeating enemies, collecting ore, returning to forge, upgrading your character, and repeating the route with more power.
New players often spend resources on whichever upgrade is immediately visible. That approach can work for a few stages, but it becomes inefficient once enemy health rises sharply. A better route is to balance weapon power, training speed, ore capacity, and movement speed.
Weapon Power
- Improves damage per shot
- Helps defeat bosses
- Determines which stages are practical
Ore Capacity
- Extends each farming run
- Reduces return trips
- Increases materials per route
Training Speed
- Converts attacks into power
- Supports rebirth goals
- Scales with stronger weapons
The strongest setup is not always the weapon with the highest listed damage. A slow rifle or sniper may produce excellent single-hit numbers but take longer to clear ordinary enemies. An automatic weapon can be more efficient for wave clearing because it maintains steady damage while you move between targets.
| Progression Goal | Recommended Priority | Why It Matters |
|---|---|---|
| Clear early stages | Fast weapon, basic training | Builds power quickly |
| Farm ore | Ore capacity, movement speed | Reduces downtime |
| Defeat bosses | High-damage weapon, armor | Improves survival and burst damage |
| Prepare for rebirth | Training boost, stronger gun | Reaches the next multiplier sooner |
| Enter advanced zones | Gear, rare ore, better upgrades | Handles larger enemy health pools |
Treat every upgrade as part of a route. If an upgrade does not help you clear, carry, train, or survive, postpone it until your core progression is stable.
Weapon Types and Loadout Choices
Gun selection should match the activity you are performing. A weapon that feels impressive in a target range may be inconvenient during a long farming run. Consider fire rate, damage per shot, reload rhythm, and how easily the weapon handles groups.
Automatic weapons are generally comfortable for normal stages. They let you maintain pressure against several enemies and recover quickly when a target moves out of position. Shotguns and other high-burst weapons can be useful against close enemies or bosses, but their slower firing rhythm demands better timing.
Precision weapons are valuable when enemy health is high and each shot must matter. Their drawback is efficiency: missing a shot or waiting through a long reload can make ordinary waves feel slower than expected.
| Weapon Style | Best Use | Strength | Limitation |
|---|---|---|---|
| Automatic gun | Regular waves | Consistent damage and fast clearing | Lower damage per shot |
| Shotgun | Close targets and bosses | Strong burst potential | Slower firing rhythm |
| Rifle or DMR | Mid-range combat | Balanced damage and control | Requires accurate targeting |
| Sniper | High-health targets | Excellent single-hit damage | Slow against large groups |
| Pistol | Early progression | Easy to use and flexible | Falls behind in later stages |
Wave Clear
Choose a fast-firing gun when enemies appear in groups or spawn additional minions.
Boss Damage
Use a high-damage weapon when the arena gives you room to aim and reposition.
Training
Pick the weapon that produces the best sustained power, not only the largest hit.
Safe Farming
Combine reliable damage with armor and movement speed before entering risky zones.
Keep at least two weapon roles in mind. One loadout should handle everyday progression, while another can be reserved for bosses or training. Switching weapons before a major activity prevents you from using a slow option in a crowded area or a weak automatic gun against a difficult target.
A larger damage number does not automatically mean faster progress. Compare how quickly a weapon clears a full wave, how often it reloads, and whether its accuracy remains practical.
Step-by-Step Forge Route
Forging is the center of Gun Forge progression. Materials are valuable, but throwing every ore into one craft can produce disappointing results if the recipe system rewards focused combinations. Use a controlled process so you can compare results and preserve resources for future attempts.
Sort Your Ore
Separate common materials from rare materials before opening the forge. Common ore is useful for early upgrades, while higher-tier materials should be saved for a targeted weapon or armor attempt.
Check the Rarity Odds
Review the displayed rarity chances before confirming the craft. If adding extra material lowers the odds or weakens the expected result, remove the unnecessary ore.
Choose a Weapon Role
Decide whether the craft is intended for wave clearing, boss damage, or training. This prevents you from judging every result by one damage statistic.
Test the Result
Equip the new weapon and test it against ordinary enemies and a target area. Compare clear speed, reload time, and sustained power with your previous weapon.
Sell or Reuse Excess Materials
If a material no longer contributes to your next upgrade, convert it into currency or keep a small reserve for future forging.
| Forge Decision | Better Approach | Common Mistake |
|---|---|---|
| Adding more ore | Use only the amount that improves the displayed odds | Assuming more materials always guarantee quality |
| Choosing a gun | Match the craft to a combat role | Selecting only by appearance |
| Using rare ore | Save it for meaningful upgrades | Spending it on low-impact attempts |
| Testing a result | Compare real clear speed | Trusting the preview number alone |
| Managing duplicates | Sell weak extras when appropriate | Filling storage with obsolete gear |
The same principle applies to armor. Armor may not increase damage directly, but extra health gives you more room to make mistakes in advanced zones. If a stage requires constant movement, prioritize survivability and mobility rather than chasing a minor weapon upgrade.
Before confirming a forge, ask whether the result can improve your current activity. If the answer is unclear, keep the materials and upgrade your route first.
Upgrades, Rebirths, and Resource Management
Upgrades should be purchased in an order that reduces wasted time. Early on, ore capacity and movement speed often provide strong practical value because they let you stay in a stage longer and return to the forge faster. Once your inventory is comfortable, shift resources toward training power, luck, and combat strength.
Rebirths are useful when your current stage no longer provides efficient progress. A rebirth resets part of your short-term momentum but unlocks stronger multipliers or training areas. Do not rebirth simply because the button is available. Compare the reward with the power you will lose and confirm that the next cycle is faster.
| Upgrade | Early Value | Later Value | Buying Advice |
|---|---|---|---|
| Ore capacity | High | High | Prioritize when your bag fills quickly |
| Movement speed | Medium | High | Useful for long routes and dangerous stages |
| Training boost | High | Very high | Important before major rebirth goals |
| Luck boost | Variable | High | More valuable when farming rare ore |
| Armor or health | Medium | High | Essential when enemies can defeat you quickly |
| Cash boost | Medium | Medium | Best when several upgrades are affordable |
A good resource cycle looks like this:
- Enter the highest stage you can clear safely.
- Ignore low-value drops when your bag is nearly full.
- Keep rare materials that support your next craft.
- Sell surplus materials when a major upgrade is within reach.
- Return to training after equipping your strongest practical weapon.
- Rebirth when the next multiplier meaningfully improves the route.
Use pets, boosts, and temporary bonuses strategically rather than activating them during a short test run. A boost has more value when paired with a full inventory, a strong farming route, or a session dedicated to reaching a rebirth threshold.
Rebirth when the new training multiplier shortens your next progression cycle. If you would need several long runs to recover, continue upgrading before resetting.
Advanced Farming Checklist and FAQ
Advanced progress depends on consistency more than one lucky craft. Once you reach difficult stages, prepare your loadout before entering and make sure your storage, armor, and movement options support the entire route.
Before Entering a Difficult Stage:
- Equip the strongest practical weapon for the activity
- Confirm that your ore capacity can support the route
- Wear your best available armor and health gear
- Save rare materials for a focused forge attempt
- Check whether a rebirth or training boost is more efficient
| Situation | Recommended Action | Reason |
|---|---|---|
| Bag fills too quickly | Buy ore capacity | More materials per trip |
| Enemies are too fast | Improve movement and use sustained damage | Easier repositioning |
| Boss survives too long | Switch to burst or precision damage | Better single-target pressure |
| Training feels slow | Use a faster sustained weapon | More consistent power gain |
| Rare ore is scarce | Improve luck and farm the highest safe stage | Better long-term material value |
Practical Farming Principles
Do not force a stage simply because it contains better loot. If enemies take too long to defeat or can eliminate you before the return trip, the expected value may be lower than a safer area. A reliable farming route produces more useful materials over time and gives you more opportunities to improve your loadout.
When you unlock a new area, test it with a partial inventory first. Learn enemy movement, projectile patterns, boss behavior, and the location of valuable drops. After the route feels manageable, increase your inventory investment and begin full farming runs.
Q: What is the best weapon style for beginners in Gun Forge?
An automatic weapon is usually the easiest starting choice because it offers steady damage, handles groups well, and supports consistent training. Move to a burst or precision weapon when bosses become the main obstacle.
Q: Should I use every ore in one forge attempt?
No. Check the displayed odds first. If extra ore lowers the expected rarity or does not improve the craft, keep the surplus for another attempt, an upgrade, or currency.
Q: When should I buy ore capacity?
Buy ore capacity when your bag fills before you reach the valuable part of a route or when frequent returns consume too much time. It is especially useful once stages begin dropping several material types.
Q: When should I rebirth?
Rebirth when the new multiplier makes your next training cycle noticeably faster. If recovering your lost power would take too long, improve your weapon, training boost, or route first.
Build for the activity in front of you. Use fast weapons for waves, heavy weapons for bosses, focused forging for upgrades, and rebirths when they improve the entire loop.